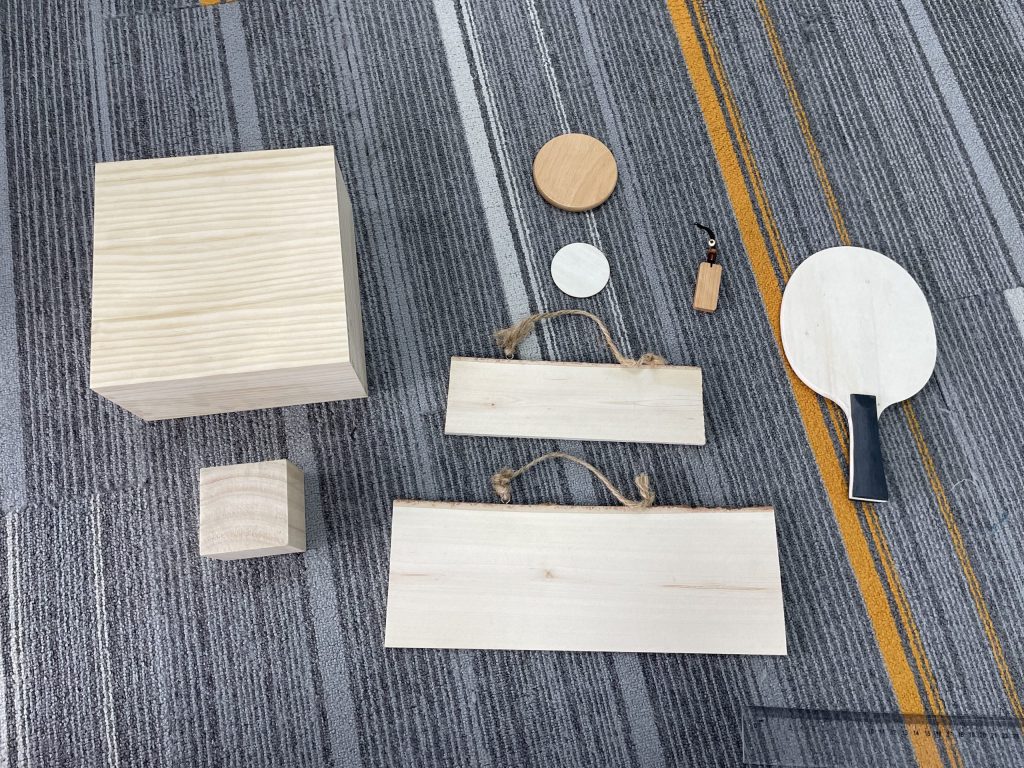
UV printing on wood

How to Use A UV Printer to Print On Wood: Step By Step Guide

In this digital era, wood printing is becoming popular as it gives sharp details, vivid colors, and high-quality printing look – everything that customers demand. Although there are numerous traditional techniques for wood printing, they are not as effective and efficient as UV printing. UV printing on wood is an innovative method that stands out from other methods simply because it cures ink through ultraviolet light. This process leads to full-colored prints that do not fade or scratch and are ideal for use in various industries.

To learn the process of UV printing, you can read this guide; we will explain the steps from preparation to the end product and help you discover the peculiarities of this innovative approach.

Table of Contents

Types of UV Printing on Wood

Before introducing the process of UV printing on wood, it is necessary to know the two types of UV printing on wood: 

Direct UV Printing

In this process, your desired design is directly printed onto the wooden surface with the use of a UV flatbed printer. To make the printed image non-fading, the ink is exposed to UV light right after the printing process to have a long-lasting print.

Transfer UV Printing

This process is about fixing the design from a special film over the surface of the wood through the use of UV DTF printer. The UV DTF stickers will be pasted on the surface of wood and last for a long time without fading even under the exposure of sunshine or rain.

How to Use UV Printer to Print On Wood

Step 1: Preparation: Gather Materials

In this step, you need to prepare the supplies including UV printer, wood substrates, UV ink, and cleaning tools.

UV Printer: Ensure the printer is properly configured for wood printing, and verify that all instruments in the chamber are correctly calibrated. Double-check the settings to ensure optimal performance and print quality.

Wood Substrate: Choose a style of wood type that has a smooth surface to increase the print quality.

UV Ink: In addition to the wood surface, the ink for UV wood printing should also be special, so it should be durable and have properties to stick to the wood.

Cleaning Supplies: Before embarking on the actual printing process, it is important to clean the surface of the wood, as this will help assist in the actual printing process.

Step 2: Clean the Wood

The surface of the wood needs to be clean to ensure fluent printing. So usw fine-grain sandpaper to rub the wood; this will help in removing disadvantageous rough surfaces. It is also important to ensure that the surface of the wood lacks dust because this will prevent the ink from sticking properly.

Clean wood for UV printing

Step 3: Prepare UV Printer

Printer Setup: Ensure that the settings on the UV printer are on, correctly connected to the computing device, and ready for printing. Learn about the proper method of setting and making adjustments in the equipment through the manufacturer’s instructions.

Ink Loading: Ensure that you use inks that are compatible with UV print in the ink cartridges of the printer as recommended by the manufacturer. Proper loading of ink cartridges also plays a significant role in the quality and color of prints being produced.
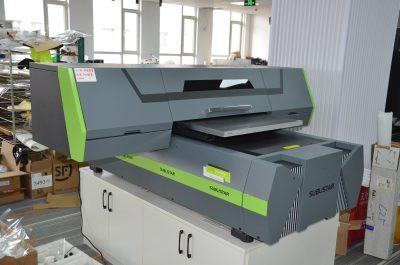
6090 UV flatbed printer

Step 4: Set up the Wood

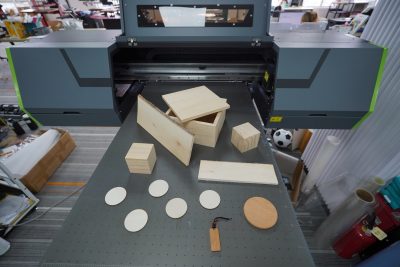
Placement: Next, position the prepared wood substrate on the printer bed while ensuring that it is stable and properly aligned. Line it up well so that it does not move in any way during the whole process of printing from start to finish.

Securing: In case this is the scenario, they should take time to correct the wood using clamps or adhesive tape. This helps in preventing the wood from any movement, especially during the printing process since any movement is not good for the final print.
Step 5: Start Printing

Sending the Design: Save the final design file from your computer to the UV printer software. Go through all the options and begin the procedure of obtaining the printout.

Monitor Progress: There are several challenges that the designers come across during the process of printing but they should pay much attention to the transportation of the ink and the UV curing process. Most of these issues can be corrected if they are noted early enough to avoid compromising the quality and accuracy of the print.
Step 6: Finishing Touches

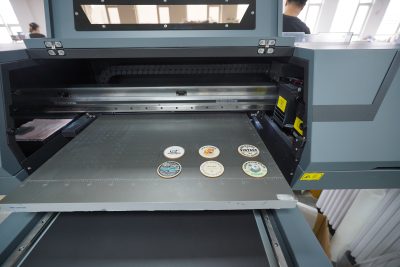
Quality Inspection: In the printed wood, make sure that prints are vibrant; there isn’t anything blurry. 

Optional Coating: Apply the varnish or a clear sealer to enhance the durability of the wood pieces. An additional varnish layer serves in favor of the printed design, keeping it safe from damage, moisture, as well as any probable changes in coloration.
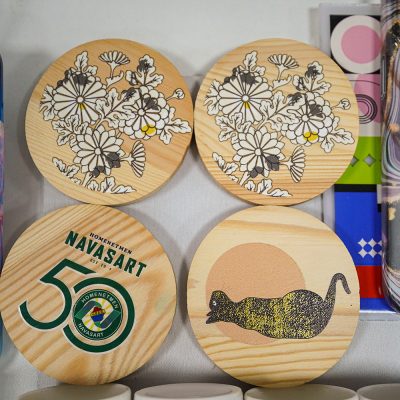
print logo and sign on wood surface by Sublistar UV printer

Why UV Printing On Wood Is Better

UV printing on wood is way better than previous conventional techniques such as laser printing due to the following reasons:

Precision and Detail 

UV printing adds precision to the details and intricate designs, making every design vivid and appealing.

Speed and Efficiency

Have you ever waited impatiently for paint to dry, only to find it still tacky to the touch? UV printing eliminates this frustration by using ultraviolet light to instantly cure the ink, allowing you to handle your prints immediately. This process drastically cuts down on waiting time, making it faster and more efficient.

Durability

UV-cured ink is another highlight as it cures in a very short time with the least effects on the wood and the printing and the prints are not easily faded or scratched. 

Vibrant Colors

If you find your previous printing work is becoming dull, you should change your printer type and shift to a UV printer. UV printing offers dense and very accurate color with increased color density meaning that your designs pop. 

Eco-Friendly

UV printing is even less hazardous to the environment in terms of chemicals used and volatile organic compounds or VOCs emitted. 

Versatility

UV printers are useful for almost all the surfaces; this is something that other methods cannot offer. 

Cost-Effective

It might be expensive at the beginning when the UV printing equipment is being purchased but in the long run, it is beneficial since it eradicates wastage and the end product is always the best. You can calcualte the UV printing cost by this article.

Summary

UV printing on wood is a relatively contemporary way of printing that entails creating vibrant and long-lasting images directly on wooden pieces using ultraviolet light which hardens the ink immediately. This leads to very clear print quality with vivid and distinct features; such prints do not fade nor get scratched like printed materials from conventional techniques that may take longer to dry and may need further application of a coat.

So, if you want wood printing for any purpose, you must consider a UV printer. In addition, if you are looking for a quality UV printer, Sublistar is your must-visiting option. Here, we offer well-built and easy-to-use printers. Feel free to contact us to buy our advanced printers and elevate your business.

FAQ

What is the advantage of UV wood printing over other techniques?

UV printing on wood has better quality as compared to laser printing and acetone transfer because of its sharp details, vivid color, and durable results. The UV curing assures that the prints don’t get scratched and are thus suitable for many uses.

It is crucial to optimize your UV printer by cleaning the printheads; furthermore, you should check whether the UV lamps work properly for UV curing, and keeping the printing chamber clean. Maintenance helps you to gain good-quality prints and also helps the printing equipment to have a longer lifespan.

Rate this post

Leave a Reply

Your email address will not be published. Required fields are marked *

Talk to Our Expert

Be The First to Learn About Our Amazing Product!

Discover the Print Difference.